19th Nov 2025
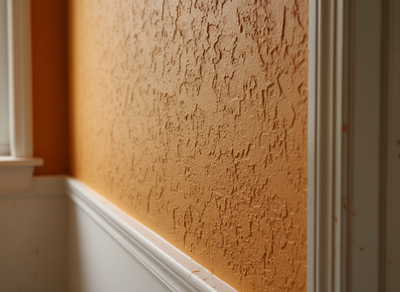
Spray painting in the winter months can be challenging. Lower temperatures, damp conditions, and reduced airflow can all affect how paints behave – often leading to longer drying times, uneven coverage, and clogged nozzles.
For decorators, adapting techniques and caring for equipment in colder weather is essential to maintaining smooth, professional results. Drawing on practical advice from industry experts and hands-on decorators, here are the winter spray painting tips you need to know.
Monitor the temperature carefully
Most paints and coatings are formulated to perform best between 10°C and 25°C. Applying paint below this range can cause poor adhesion and inconsistent coverage. The surface temperature is just as important as the air – spraying onto a cold substrate often leads to problems.
- Always check the manufacturer’s recommended range.
- Use heaters to bring your workspace up to temperature.
- Make sure the surface is at least 3°C above the dew point to avoid condensation.
Expect longer spray paint drying times in winter
One of the biggest challenges of painting in winter is slower drying. Cold weather slows down evaporation, meaning coatings can remain tacky far longer than in summer. This increases the risk of runs or smudges if decorators rush to apply a second coat.
To manage this:
- Allow extra curing time between coats.
- Use fans or extraction systems to boost air circulation.
- Be patient – forcing the process rarely gives good results!
Control humidity and airflow
Winter often brings damp conditions that interfere with paint curing. High humidity can trap moisture, leading to defects like blushing or reduced durability.
- A dehumidifier in enclosed spaces can help.
- Maintain steady airflow but avoid draughts that carry dust.
- Outdoors, aim for drier days if possible.
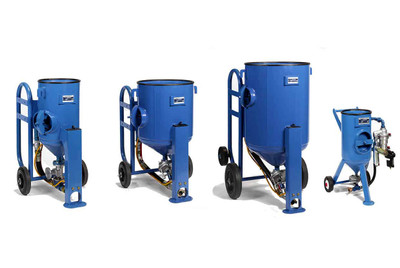
Prepare and protect your spray equipment
Colder temperatures affect not only paint but also equipment. Cold weather makes spray paint thicker and more viscous, which can clog nozzles. Shaking cans vigorously – at least three minutes – is essential to re-mobilise the paint before use.
Other key steps:
- Flush spray guns thoroughly after each job.
- Store hoses, guns, and consumables in a frost-free, dry space.
- Keep filters and nozzles protected from condensation.
Taking extra care with kit avoids blockages, breakdowns, and costly downtime.
Choose the right products for cold weather
Not all coatings are designed for winter. Some paints are formulated with additives that help them cure in lower temperatures. Checking labels and specifications before use can save wasted time and materials.
When selecting products:
- Look for paints labelled as suitable for cold weather.
- Test a small area before committing to a full spray.
- Ask suppliers for guidance on winter-compatible products.
Final thoughts
Cold weather spray painting presents challenges, but decorators can still achieve consistent, professional results by making small adjustments. Monitor temperature and humidity, allow for longer drying times, maintain your equipment, and use the right products for the season.
With these winter spray painting tips, you’ll be ready to keep your projects running smoothly – even when the temperature drops.